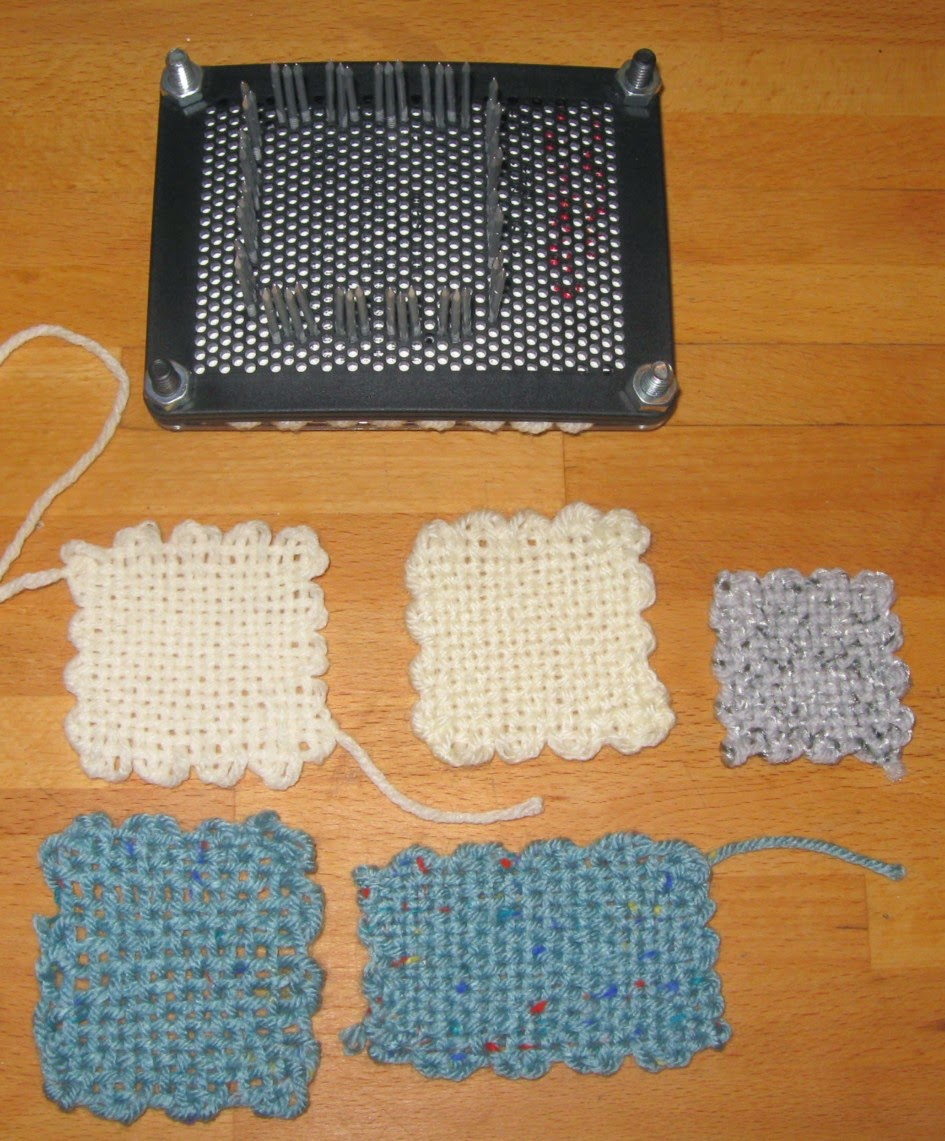
Because the Pinpression that I had bought didn't work very well, I thought about throwing it away. Then I realized what I was looking at. The toy is made of two plastic boards that are perforated with rows of holes as well as a clear plastic board on top. It is held together with plastic bolts and acorn nuts.
It dawned on me that if I took out all the plastic pins, I could turn this item into a pin loom. Here is how it has worked out so far:
 As much as I would have liked to just keep the original hardware, it turned out to be easier to get 1" x 1/4" cap screws with matching nuts to secure the boards together. Keep in mind that you want to get the same threading on both parts, they come in 20 and 28- either will work, just make certain that they match.
 I used 1 1/4" cedar shingle nails as weaving pins. I took the boards with me to a hardware store and simply tried different nails until I found some that would go through the holes without being too tight or too loose.
These nails turned out to have a rounded rather than very sharp tip, which is helpful. My only regret was that in order to get the 40 or so than I needed, I had to purchase 370. If possible, look for a source that lets you purchase less of them.
My goal was to be able to produce a small square or rectangle that would match my Weavette and Zoom Loom sett and offer slightly different dimensions to fill in an occasional need for an off size weavie. I haven't been able to do that quite yet although its close.
This little loom could work quite well on its own-- without comparing it to a standard loom. This has been a fun loom to experiment with because of the reasonably low initial investment and the potential to weave a number of different squares.

The next two pictures show the same weaving on and off the loom. The square measures 2 1/4" x 2 1/4". You can see the pin placement from the back in the picture above that shows the loom back and the cedar shingle nails.
The four weavings on the left in the picture below were all created on this pin loom. In comparison, the grey square on the right was woven on a 2" Weave-it.


